If you were a kid during the late 90s to early 2000s, I probably don’t need to tell you how huge Dragon Ball Z was. This show was one of the first animes I got super into, and like a lot of kids, I’ve always wanted my own Dragon Ball. I was very sad to hear about the passing of series creator Akira Toriyama this past March and finally decided to make one.
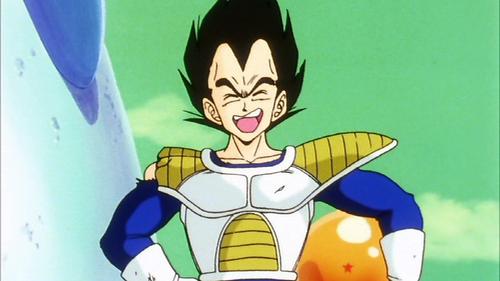
To me, the absolute pinnacle of DBZ is the Namek saga, where Vegeta starts his transition from villain to anti-hero, and Goku finally achieves Super Saiyan for the first time to defeat Frieza. Because that’s my favorite arc my most “iconic” set of Dragon Balls are actually the Namekian ones, which unfortunately for the sake of actually making are a lot larger than their original Earth counterparts.
I knew I didn’t want to make all seven, but I did decided to make two because making something it’s usually not much more work to create a second at the same time. I wanted a backup in case something went wrong, and if both turned out well, I’d keep one for my collection and try to sell the other.
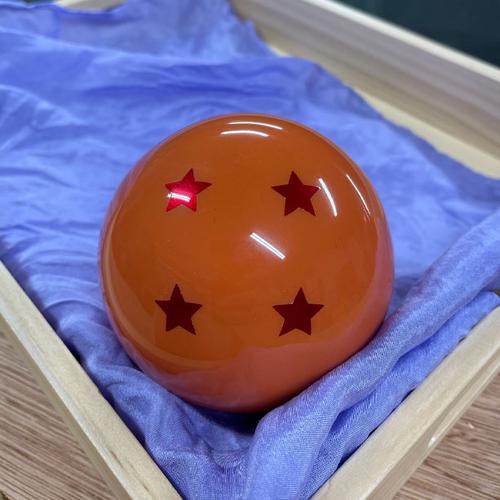
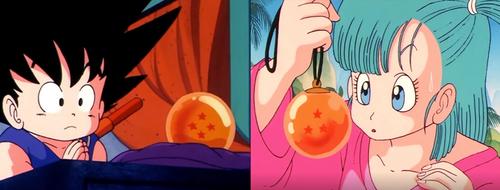
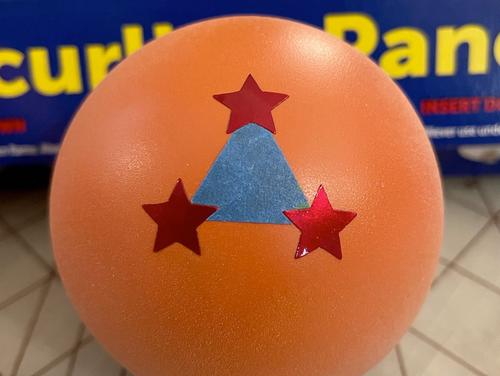
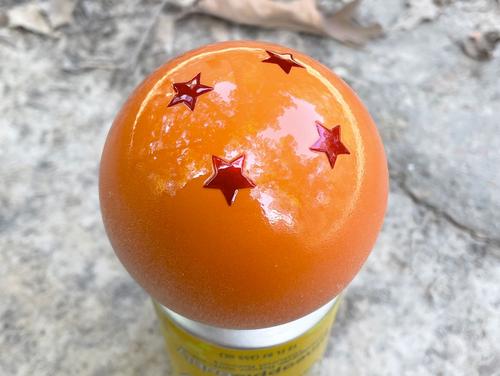
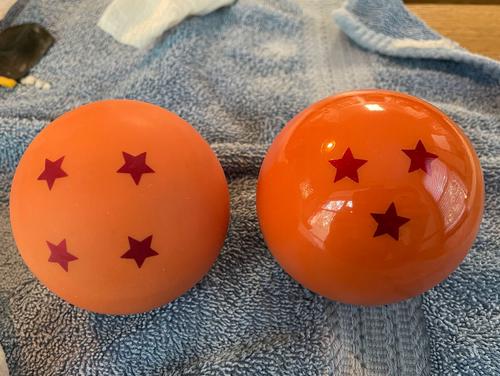
I settled on making the 4 Star ball, which was given to Goku by his grandfather before the series begins, and the 3 Star ball, which Goku and Bulma win by rescuing Master Roshi’s turtle. I figured the 4 Star was a safe bet to sell since it’s probably the most famous, and I liked that the 3 Star I’d be keeping kind of resembled the Tennessee state flag, which is where I live.”
Modeling and Printing
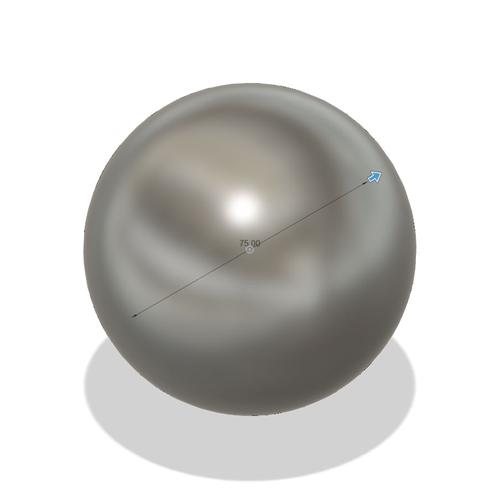
A lot of people have made Dragon Balls and most of them are translucent with the stars embedded inside. The balls in the show always looked opaque to me, so I wanted to take a different approach where the balls were solid and the stars wrapped around the surface. According to research I did it was revealed in aWorld Guide Book from 1995 that the Earth Balls are roughly the same size as a baseball, or about 75mm in diameter. This led me to create possibly the most basic thing I have ever modeled in Fusion 360.
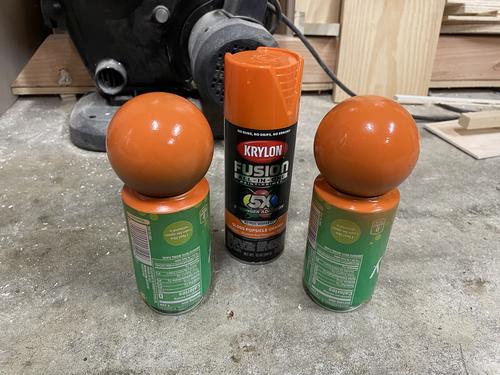
I printed these on my 3D printer at a 0.2mm layer height, which took about 3 hours for each. I used orange filament because I had some, but it ultimately didn’t really matter what colors the prints were because these were going to be sanded and painted.
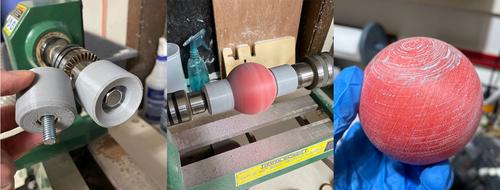
From there the balls got the pretty standard treatment of filler primer, glazing and spot putty, sanding, repeating over and over again until they were smooth. I also modeled and printed a jig for my wood lathe that would hold the balls on each end so I could sand with sanding sponges while the ball was spinning. Sanding could have been done by hand, but being able to use a machine really sped up the process and let me get a little more accurate of a shape in the end.
Surface Prep
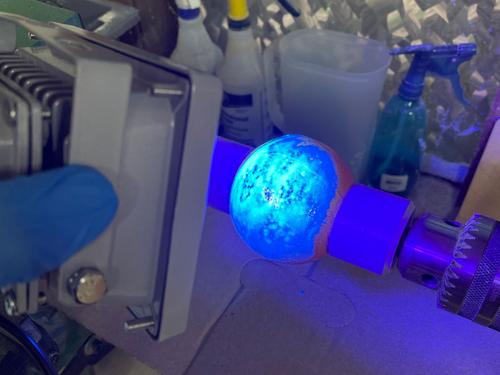
The only other step of an interest in smoothing the print was to use ultaviolet resin (the kinds that’s typically used for MSLA printers) and a UV light to add some strength and quick smoothness. This is something I’ve seen a few other makers do (VanOaksProps and vaultfox just to name two), and I really wanted to try it on a simple shape for the first time before doing something more complex.
Hopefully it goes without saying for any kind of sanding and painting, but definitely make sure wear a proper respirator and gloves when working with any kind of resin.
Painting
After everything was sufficiently smooth and sanded up to 1000 grit sandpaper, I started applying layers of Krylon Gloss Popsicle Orange paint.
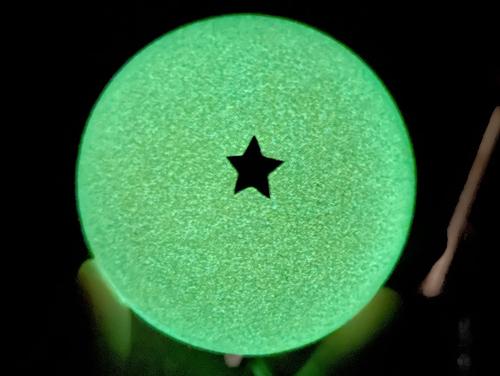
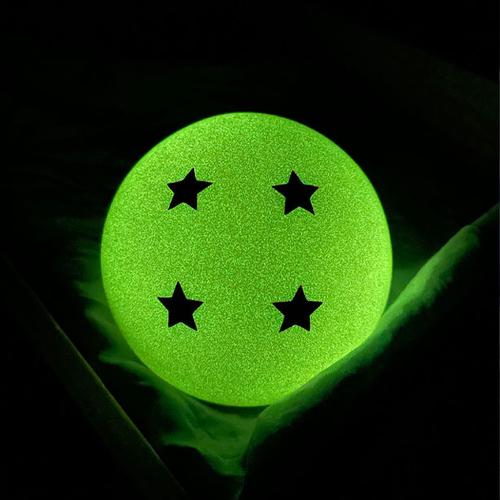
I wanted the balls to have a special effect where they glowed under a blacklight, so I also applied several layers of Krylon Glowz Spray Orange. This leaves a chalky finish, and the color can look uneven, but I tested the combination of orange, glow, and clear coat on several plastic spoons beforehand and found that the gloss layer on top removed the dulled finish and evens out the colors by the final layer.
At this point I also put on one of the vinyl star stickers I’d made just to test whether or not it was sufficiently opaque enough to block the glow effect.
Star Stickers
Since I didn’t trust myself to place the stickers accurately by eye, I used projection mapping to wrap all of the stars onto the surface of each ball. I then used a pepakura tool (I used unfolder, but any program should work) to convert them into flat shapes that I could cut out of vinyl.
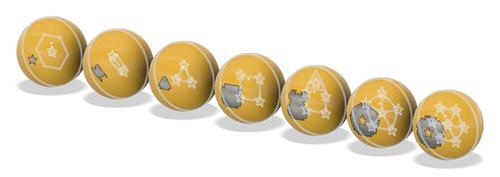
They look pretty indistinguishable from the stickers you get for doing a good job in elementary school, but I designed my own stars and cut them out of some chrome red adhesive vinyl. For the placement guides I used painters tape so I wouldn’t accidentally remove any paint while peeling it off. To cut it out on my vinyl cutting machine I stuck it down to some parchment paper before sending it through.
Finishing
The final step was to apply literally dozens of layers of Rust-Oleum Crystal Clear Gloss Enamel. This was tedious because I had to paint each part of the ball in sections, applying the clear coat only to the top, wait for it to dry, rotate, and then repeat, to avoid it getting stuck to the empty can I was using to hold it off the ground. I applied as many layers as I did to build up enough height so the 1mm thick stickers wouldn’t be visibly raised above the surface of the ball.
After many days of spraying clear coat I was ready for the final wet sanding and polishing. I worked my way up from 800 to 1,000 to 3,000 to 4,000 to 5,000 to 7,000, and finally to 10,000 grit sandpaper. This process smoothed out any tiny imperfections but left a somewhat matte finish.
The final layer was two coats of Turlte Wax Ceramic Polish, applying generously and then buffing off as the instructions on the bottle said.
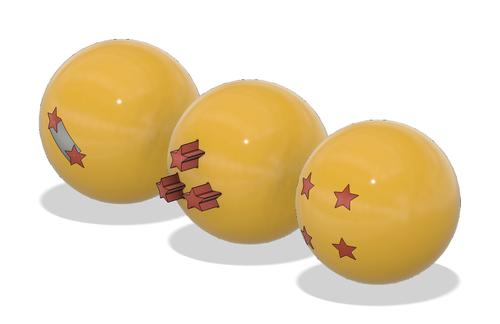
Exporting Files
I made several final versions of the models — one for the way mine were finished with paint and stickers, and two for anyone interested in a less refined, printed-only version. One set has the stars knocked out and separated into their own print so they can be made in one color and slid into the ball shape, and the other for fancier printers that can do both colors in one shot.
If you’re interested in making these yourself you can purchase the different files versions from my Printables store, or if you want a discounted version of all of the files you can find them on my Etsy store and use promo code BLOGREADER for 25% off.
If DIY isn’t your thing, you can purchase the finished Four Star Ball also on Etsy if its still available and use the same discount code.